
How Builders Can Turn One Model Home Photo Shoot Into Months of Marketing Content

HDBROS
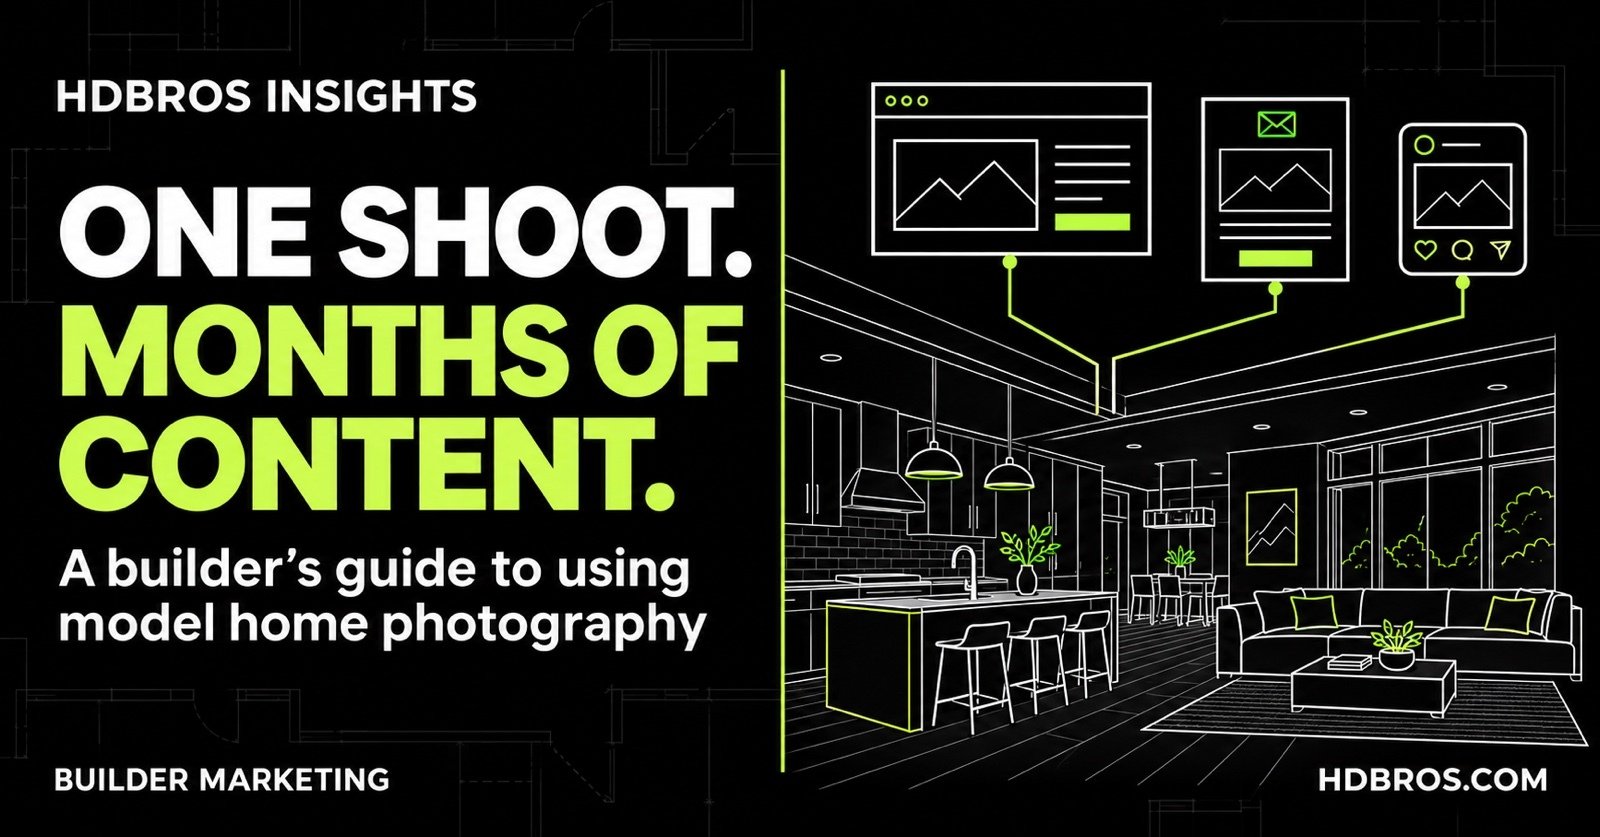
A model home photo shoot can support much more than launch day. With the right coverage and a distribution plan, builders can use the same image library across community websites, email newsletters, blog articles, social media, sales presentations, and buyer follow-up for months. The useful life of that library depends on how accurately it represents the homes and options you still offer.
The opportunity is to give each image a specific job. A wide kitchen photograph can explain the floor plan on your website. A closer view can anchor a newsletter about finish selections. A sequence connecting the kitchen, dining area, and patio can support a blog about indoor-outdoor living. Each piece answers a different question using the same underlying project.
This guide explains how to turn professional model home photography into a practical home builder content marketing plan, with examples, a 90-day calendar, and a worksheet your marketing and sales teams can use together.
Where should builders use model home photography?
Start with the destinations below. For each one, choose the buyer question first, then select the images and a relevant next step.
| Destination | Images to prioritize | Question to answer | Next step |
|---|---|---|---|
| Community website | Exterior, connected interiors, completed amenities | What is available here, and what does it feel like? | Explore plans or request community information |
| Floor plan page | Room sequences, layout variations, optional spaces | How does this plan work? | Compare layouts or schedule a model visit |
| Email newsletter | One lead image and two supporting views | What should I explore next? | Read a guide or view the featured plan |
| Blog article | Views that illustrate a specific explanation | How do I evaluate this design decision? | See a relevant plan or contact the team |
| Design details, finished spaces, project context | What can peers and partners learn from this project? | Read the project story | |
| Facebook and Instagram | A connected room sequence or one distinctive feature | What would I want to see in person? | Explore the model or community |
| Google Business Profile | A representative model or community image | What is new with this builder or community? | Visit the relevant website page |
| Sales follow-up and print | Images selected around the buyer’s questions | Does this home address my priorities? | Discuss options or arrange a visit |
1. Build website pages that explain the home
Your website should be the lasting destination for the photography. Before sending traffic from email or social media, make sure the destination page explains the community, home, or floor plan shown.
Give community pages a clear visual sequence
Open with a view that establishes the community or model. Follow with the principal living spaces, representative bedrooms and bathrooms, outdoor areas, and completed amenities. Place explanatory text beside the relevant photographs so visitors understand what they are seeing.
A gallery caption such as “The model’s covered patio connects directly to the main living area” is more useful than “Outdoor living.” If the patio is optional, say so. Identify the photographed model and distinguish its finishes from those included in other homes.
Connect room photography to floor plans
A floor plan shows arrangement; photography shows how that arrangement looks at eye level. Use both on the plan page. Show the kitchen looking toward the living area, then the reverse angle, then a detail that clarifies storage or circulation. This gives visitors more context than several nearly identical kitchen angles.
Link a feature article directly to the relevant plan instead of sending everyone to the homepage. When visitors read about a first-floor primary suite, make it easy to find the layout that includes it.
Keep model photography separate from specific inventory
When using a model to illustrate an available home, clearly identify it as representative photography and explain differences that matter. Do not present a model’s upgraded kitchen, finished basement, or landscaping as the exact condition of another property. Review availability and feature descriptions whenever the sales team updates the offering.
2. Turn model home images into useful email newsletters
A builder newsletter works best when it gives readers one clear reason to click. Choose a topic, select a small group of photographs that explains it, and link to a page where readers can learn more.
For example, one model home kitchen can support several separate emails:
- Layout: Explain the connection between cooking, dining, and gathering spaces.
- Storage: Show the pantry, cabinetry, and island from angles that reveal their arrangement.
- Selections: Introduce the model’s actual cabinet, countertop, and hardware choices, identifying upgrades.
- Visit invitation: Use a wider view to introduce a model opening or scheduled event with verified details.
A newsletter structure your team can reuse
Subject: A closer look at the kitchen in our [Plan Name] model
Preview text: See how the island, pantry, and dining area fit together.
Lead image: A wide view showing the relationship between the kitchen and adjoining space.
Opening: Explain one visible design decision in two or three sentences.
Supporting images: A pantry view and a second angle showing circulation around the island.
Button: Explore the [Plan Name] layout.
The bracketed text is a planning placeholder. Replace it with confirmed project information before sending. Avoid claims such as “more storage than any other home” unless your team has evidence supporting the comparison.
Keep the explanation and button as real email text rather than embedding everything inside a graphic. Include descriptive image text, check the layout on a phone, and test the destination link. Send full-resolution originals to your designer, but use appropriately sized exports in the email itself.
Separate audiences when it improves relevance. A buyer considering the community may need floor plan information; an agent audience may need current model access and a link to approved inventory details. The same photography can support both messages with different copy.
3. Write blog posts that answer specific buyer questions
Model home photography gives a builder blog concrete examples. Begin with questions your sales team actually hears, then use the images to explain the answer. This produces more useful material than publishing another gallery with a new headline.
- “What should you look for in an open-concept floor plan?” Use connected kitchen, dining, and living-room photographs to discuss circulation and furniture placement.
- “How can a flex room be used?” Show the room’s location, doors, and dimensions when confirmed. Distinguish staged furniture from included features.
- “What is included in a model home kitchen?” Pair images with a verified explanation of standard features and optional selections.
- “What should you compare when touring model homes?” Use photographs to illustrate room connections, storage locations, natural light at the time photographed, and outdoor access.
- “Covered patio or screened porch: what should you consider?” Explain the options your company actually offers and use accurately labeled examples.
Each article needs its own substance: a different question, explanation, and set of examples. A paragraph about furniture placement should sit beside a view that makes the layout understandable. A close-up of hardware cannot demonstrate circulation around an island.
Use the community or city name where it provides real context. An article about a specific model in Richmond should identify that location accurately. Avoid creating nearly identical articles for a list of cities with only the place names changed.
Link related content together. A model-tour checklist can point readers toward a floor plan comparison; the plan page can link back to an explanation of its optional spaces. Google’s guidance on helpful content emphasizes satisfying readers’ needs. There is no preferred article length that substitutes for answering the question well.
4. Give LinkedIn readers a project lesson
For builders and developers, LinkedIn can support project storytelling, professional relationships, and conversations with industry partners. Choose an angle that gives a colleague something useful to consider.
For example, show three images connecting a kitchen to the dining area and patio. Explain why the photography brief included all three views: the marketing team needed to communicate the relationship between spaces across the website, launch email, and sales presentation.
A practical opening could be: “Before photographing a model home, list the questions your sales team answers every week. That list should help shape the shot list.” Follow with an actual example and a link to the fuller guide.
Tag project partners when their participation is confirmed and relevant. Credit design, construction, staging, and photography accurately. Obtain permission for partner use rather than assuming every collaborator has the same image rights.
5. Use Facebook and Instagram to introduce one feature at a time
Give each post a specific subject. A sequence showing the kitchen, dining space, and patio can introduce how those areas connect. A different post can focus on the primary suite or a flexible room.
For a carousel, use a sequence with a beginning and an explanation: a wide view, a useful second angle, a detail, and a closing slide directing readers to the relevant plan. Keep text readable and leave room around important subjects when preparing alternate crops.
A Facebook introduction might read: “The kitchen is only part of the story. These views show how the model’s kitchen, dining area, and covered patio connect. Explore the floor plan and see which outdoor options are available.” The linked page should answer that promise.
Photography can also be assembled into a short slideshow, but it should be presented as a photo sequence. If the story requires movement through the home, plan video coverage separately. Our guide to briefing a property video explains how audience and distribution affect production planning.
6. Connect Google Business Profile updates to useful pages
Use an existing, appropriate Business Profile to introduce a new model, a substantive community update, or a helpful guide. Choose a representative photograph and a short explanation, then link to the page that delivers the details.
For example: “Planning your first model home visit? Our guide explains what to compare, from room connections to the difference between included features and model upgrades.” The destination should be that guide, rather than an unrelated homepage.
Keep hours, event dates, and availability accurate. Google reviews submitted posts, so submission does not establish that an update is publicly visible. Check its status after posting. See Google’s Business Profile post guidance for the current publishing process.
7. Equip the sales team with images organized around questions
A shared folder labeled “final photos” is rarely enough for consistent follow-up. Organize an approved selection by plan, room, and feature so the sales team can find relevant views quickly.
If a visitor asks about the relationship between the laundry room and primary suite, follow up with the verified plan and photographs that clarify the layout. If someone asks about a finish package, send accurately labeled examples and the current selections information.
Build small sets for common conversations: kitchen storage, outdoor living, flex spaces, and model-versus-standard features. Include the plan name, capture date, and any required qualifications. Give the sales team approved links as well as images, so the explanation travels with the photograph.
The same library can support brochures, presentation slides, agent information sheets, and sales-center displays. Use high-resolution files for print and review a proof before ordering. Keep QR-code destinations stable and update the linked information as availability changes.
8. Plan paid creative and partner use before the shoot
If paid campaigns are part of the plan, tell the photographer which layouts you expect to need. A tightly framed room photograph may leave little room for a headline; a landscape composition may not survive a tall crop. Request useful alternate compositions while the room is ready.
Match the message, photograph, and destination. A campaign featuring a specific kitchen should explain which plan or model is pictured on the linked page. Compare creative against relevant actions, such as qualified inquiries or model-visit requests, rather than treating the largest number of reactions as the best result.
Confirm the photography license covers intended websites, email, social, paid advertising, print, and partner distribution. Record any limits or credit requirements. Media delivery alone does not establish unlimited usage rights.
A practical 90-day content calendar from one model home shoot
The schedule below is an example, not a promise that every shoot produces every asset. Adapt it to the coverage captured, your publishing capacity, and the model’s continued relevance.
| Timing | Main content | Supporting distribution | Review before use |
|---|---|---|---|
| Weeks 1–2 | Publish or refresh the model and floor plan pages | Launch newsletter, Facebook introduction, Business Profile update | Model name, hours, included features, links |
| Weeks 3–4 | Publish a kitchen-layout article | Feature email and room-sequence carousel | Actual layout and finish descriptions |
| Weeks 5–6 | Publish a model-tour checklist | LinkedIn planning lesson and sales follow-up set | Options, plan references, visit information |
| Weeks 7–8 | Explain a flex room or outdoor-living option | Facebook feature and targeted newsletter | Whether the depicted option is still offered |
| Weeks 9–10 | Create a project story about design decisions | Partner sharing and sales presentation update | Credits, image rights, factual approvals |
| Weeks 11–13 | Review results and improve the most useful pages | Share a new excerpt or answer a follow-up question | Current availability and gaps requiring new photography |
Reusing an image does not require repeating the same caption. Keep a record of where each view appeared and the question it answered. When revisiting a subject, add something useful: a confirmed option, a clearer comparison, or an answer the sales team has heard since launch.
Image SEO: make the photography understandable and easy to load
Use short, descriptive filenames, accurate alt text, relevant surrounding copy, and appropriately sized images. For example, model-home-kitchen-covered-patio.jpg is clearer than an unexplained camera filename. Alt text such as “Model home kitchen with an island facing the dining area and patio doors” describes the view without stuffing in service keywords.
Provide responsive image sizes and compression that preserves useful detail. Use standard embedded images for important content rather than relying entirely on decorative backgrounds. These recommendations follow Google’s image SEO guidance. They help search engines discover and understand imagery; they do not guarantee rankings.
For each page, write a distinct title and meta description that accurately summarize the subject. Use clear headings, descriptive internal links, and visible project context. A gallery benefits from an introduction explaining the model and its location, followed by captions where they clarify features.
Keep location references truthful. Show different communities through their actual homes, amenities, and verified context. Avoid placing a list of service cities in image descriptions or using photographs from one development as an unlabeled illustration of another.
Measure what the content helps people do
Assign a useful outcome to each piece. A newsletter might be intended to bring readers to a plan page; that page might be intended to generate a model-visit request. A LinkedIn project story may support partner conversations. These outcomes need different measures.
- Email: Track clicks to the relevant page and subsequent inquiries when your systems support that connection.
- Blog and search: Review search impressions, clicks, landing-page activity, and relevant next steps.
- Social: Review outbound clicks and resulting website actions alongside saves, comments, and reach.
- Sales: Ask which image sets help answer questions and record appointments or inquiries in the appropriate system.
For external campaign links, use consistent UTM values. A newsletter link could use source builder_newsletter, medium email, campaign model_home_launch, and content kitchen_feature. Google’s campaign URL guidance explains how these values appear in acquisition reporting when Analytics is configured.
Test the measurement before depending on it. Confirm that forms, appointment requests, and relevant clicks are recorded. A tracked link identifies a traffic source; connecting that visit to a qualified inquiry or sale requires further evidence. Do not present image views or social reactions as proof of home sales.
A photo-to-content worksheet for your next shoot
Complete this brief before production so coverage reflects the content you intend to create:
- Project: Identify the community, model, plan, address, and readiness date.
- Audience: Name the buyers, agents, partners, or stakeholders the content needs to help.
- Questions: List five questions your sales team repeatedly answers.
- Coverage: Match each question to wide views, connecting angles, and details.
- Destinations: Specify website pages, newsletters, blog topics, social formats, print, and paid use.
- Deliverables: Confirm high-resolution originals, web exports, alternate compositions, and any agreed crops.
- Accuracy: Record model upgrades, standard features, representative views, and approved facts.
- Permissions: Confirm usage rights and identify partners who may receive the images.
- Ownership: Assign someone to select images, write copy, review facts, and maintain the library.
- Measurement: Choose the next step and confirm how it will be tracked.
After delivery, store originals separately from channel exports. Organize approved images by community, plan, room, and capture date. Maintain a small reference sheet identifying image numbers, visible features, usage notes, and links to the approved pages.
Frequently asked questions about using model home photography
Can the same model home photos be used in newsletters, blogs, and social media?
Yes, when your usage agreement covers those channels. Adapt the selection, crop, copy, and destination to the purpose of each piece. Recheck whether the image still represents the plan, finishes, and community accurately.
How many marketing pieces can one photo shoot create?
There is no fixed number. It depends on the coverage, available stories, usage rights, and how distinct the pieces are. Plan around real questions and destinations rather than stretching every photograph into another post.
Does every builder blog post need new photography?
No. Existing approved images can illustrate a new explanation when they are relevant and current. New photography becomes useful when the article requires a missing angle, changed feature, different plan, or newly completed area.
When should model home photography be updated?
Review it when staging, finishes, landscaping, amenities, floor plans, or offered options change. Replace or relabel imagery that could misrepresent the current product. A seasonal campaign may also need a different exterior view.
Should a model home shoot include video and aerial coverage?
Consider them when they explain something still photographs cannot, such as movement through connected spaces or the relationship between buildings and amenities. Agree on the purpose, feasible coverage, and separate deliverables before production.
Plan model home photography around the marketing that follows
A useful image library starts with the decisions your marketing and sales teams need to support. Identify those decisions before the shoot, capture the views that explain them, and give each published piece a clear destination.
For a broader project library, read our guide to finished-project photography for builders and developers. If your community is still taking shape, our construction progress photography guide explains how to plan milestone coverage.
Planning your next model home or completed-project shoot? Send HDBROS the project location, readiness date, priority spaces, and the marketing channels you need to support. We can discuss the photography and visual storytelling needed for your project.